

Overview: Banner 9 Self Service includes a Direct Deposit feature that allows employees to view their direct deposit information for both payroll and accounts payable, as well as the ability to modify their direct deposit allocations.
Note: When adding or making changes to your direct deposit account information, have your financial institution’s routing number and your account (checking or savings) number ready for entry.
We recommend having a blank check or a direct deposit form from your financial institution nearby for quick access to your personal account information.
**Your account number is NOT the same as your debit card number.**
Guide Contents
Legend
˄ Collapse Menu
˅ Expand Menu
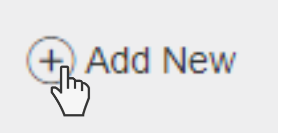
+ Add New – You can use this button to add a new direct deposit allocation.
– Delete – Use this button to delete an existing direct deposit allocation.
i Click the “i” icon to see a visual aid (sample check)
▢ Check box – Click the check box to authorize the customized disclaimer message that the institution has created.
Glossary of Terms
Pay Distribution
This section displays your most recent pay distribution. It contains information regarding the last pay distribution date, name of your financial institution, routing number, account number, account type, net pay distribution, and total net pay amount.
Proposed Pay Distribution
This section is where you will enter your information for your payroll direct deposit.
You can add up to four accounts and determine how much you want to allocate to each account using whole numbers or percentages.
Accounts Payable Deposit
Accounts Payable direct deposit allows you to receive non-payroll payments, such as expense reimbursements, via electronic transfer. If you anticipate receiving accounts payable deposits click Add New to add a bank account for allocation. Click here for instructions.
It is strongly recommended that all employees set up Accounts Payable Direct Deposit. Only one bank account can be used for the Accounts Payable Direct Deposit.
Amounts
Remaining Amount – Select this option to deposit the amount of money remaining after the prior allocations are deposited into the designated accounts.
Note: Whenever you set up one payroll account, the Remaining Amount option must be selected to continue with the setup.
Specific Amount – Select this option button to deposit a specific amount of money into the designated account.
Enter this amount in the ‘Enter Amount’ box.
Typically used when someone had two or more accounts.
Percentage – Select this option button to deposit a percentage amount of money into the designated account.
Enter this amount in the Enter Percentage % box.
Typically used when someone had two or more accounts.
Priority
Whenever you set up one direct deposit account, that account’s priority must remain 1 (one).
When you have more than one direct deposit account you have the freedom to assign account priority from 1 (one) to 4 (four).
Note: You have the ability to reassign an account’s priority at any time.
Step-by-step Instructions
- Go to MiamiOH.edu/DirectDeposit.
- Under the Proposed Pay Distribution section, click on Add New
- The Add Payroll Allocation pop-up will appear. Enter your financial institution’s 9-digit routing number.

- Once your routing number is entered your financial institution’s name will automatically populate.

- Note: Click either of the “i” icons for a visual aid of a sample check
- Note: Before moving on, double-check to ensure that you have entered the correct routing and account numbers
- Enter the account number from your blank check or direct deposit form from your financial institution, then enter it again in the Verify Account Number box

- Select Checking or Savings from the Account Type drop-down box.

- If you have only one account for direct deposit allocation, its Priority will be 1 (one) and in the Amount section, you must select Use Remaining Amount.


- Click the box for the authorization statement, then click on SAVE NEW DEPOSIT.
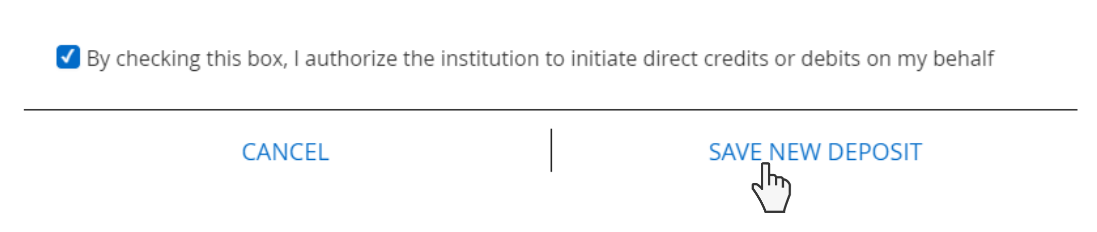
- Note: The “Save New Deposit” button is not clickable until the authorization statement box is checked.

- A Saved Successfully notification will appear in the upper right corner of your screen.

- An email will automatically be sent to your Miami email address informing you that changes have been made to your account information.
- You’re all set!
Troubleshooting
If you received the following message: An invalid routing number was entered. Please enter a valid routing number, review your financial institution’s routing number entered for accuracy. If the system doesn’t accept your financial institution’s routing number, contact Payroll Services at 513-529-6223 or visit Roudebush Hall, Room 2 for assistance.