Creating a Post / Page

Posts are the entries that display in reverse chronological order on your home page. In contrast to pages, posts usually have comments fields beneath them and are included in your site’s RSS feed.
New to blogging? See WordPress’s Best Practices for Posting in the WordPress Codex.
To create a new post or page:
1. Log in to WordPress. If you are unsure of how to do this, view Logging in to WordPress.
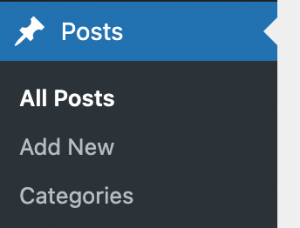
 2. Add New post. On the left side of your screen, click the Posts heading. If this list is not expanded, mouse over the heading and click the downward arrow that appears. Then click Add New.
To add a new page rather than a new post, click the Add New link under the Pages heading instead.
3. Add a title and content. In the appropriate boxes, type the title and content for your post.
- Note that both fields accept HTML tags; however, this may impact how your post appears in search engines.
- If desired, click the Visual or HTML tabs to switch between the views.
4. Insert pictures and/or other media. For more information, see Adding Images to a WordPress Post / Page.
5. (Posts only) Assign Categories and Post Tags.
- Categories: Categories are used to establish a general hierarchy of the site. On the right side of the screen, under Categories, select the checkbox(es) to file the post by category.
Although you can assign a post to multiple categories, it may hurt the organization of your site. We recommend choosing not more than two categories for each post.
- Post tags: While categories establish site hierarchy, post tags are specific keywords that categorize your post. For example, a post on World War I might be categorized under “history” while the post tags might include “war,” “fighting,” “army,” etc.
As you type a tag, it will attempt to auto-complete using the list of previously-used tags from your site as a reference. Reusing post tags can be helpful when users are searching your site, such as using “army” for all posts rather than “army” and “armies.”
Separate all post tags with commas. When you are finished adding post tags in the text box, click the Add button.
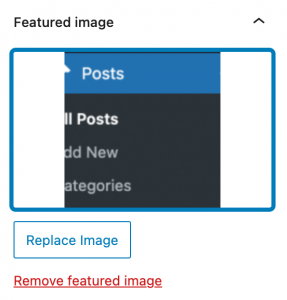
 6. Assign a featured image. Featured images appear next to your page or next to your post in an archived post. Often, the featured image helps make a post “stand-out” above the others. For more information, see Adding Images to a WordPress Post / Page.
7. Publish or schedule your post /page. Publish the post/page immediately or schedule it to publish in the future. You may also control who can see the post.
- Click the Publish button to make your post publicly viewable right away.
- Next to Publish immediately, click the Edit link to schedule the post to be made available at a time in the future. Choose a date and time, then click OK.
- Next to Visibility, click the Edit link to control the visibility of the post.
- Public (default): anyone can see the post.
- Private: anyone who is logged in to your blog can see the post.
- Password protected: allows the existence of the post to be made public, but only those with the proper password may view the content.
Note: Depending upon the permission level that you have on the blog site, you may need to receive approval before publishing your post or page. If approval is required, the Publish button mentioned above may be replaced with Submit.
